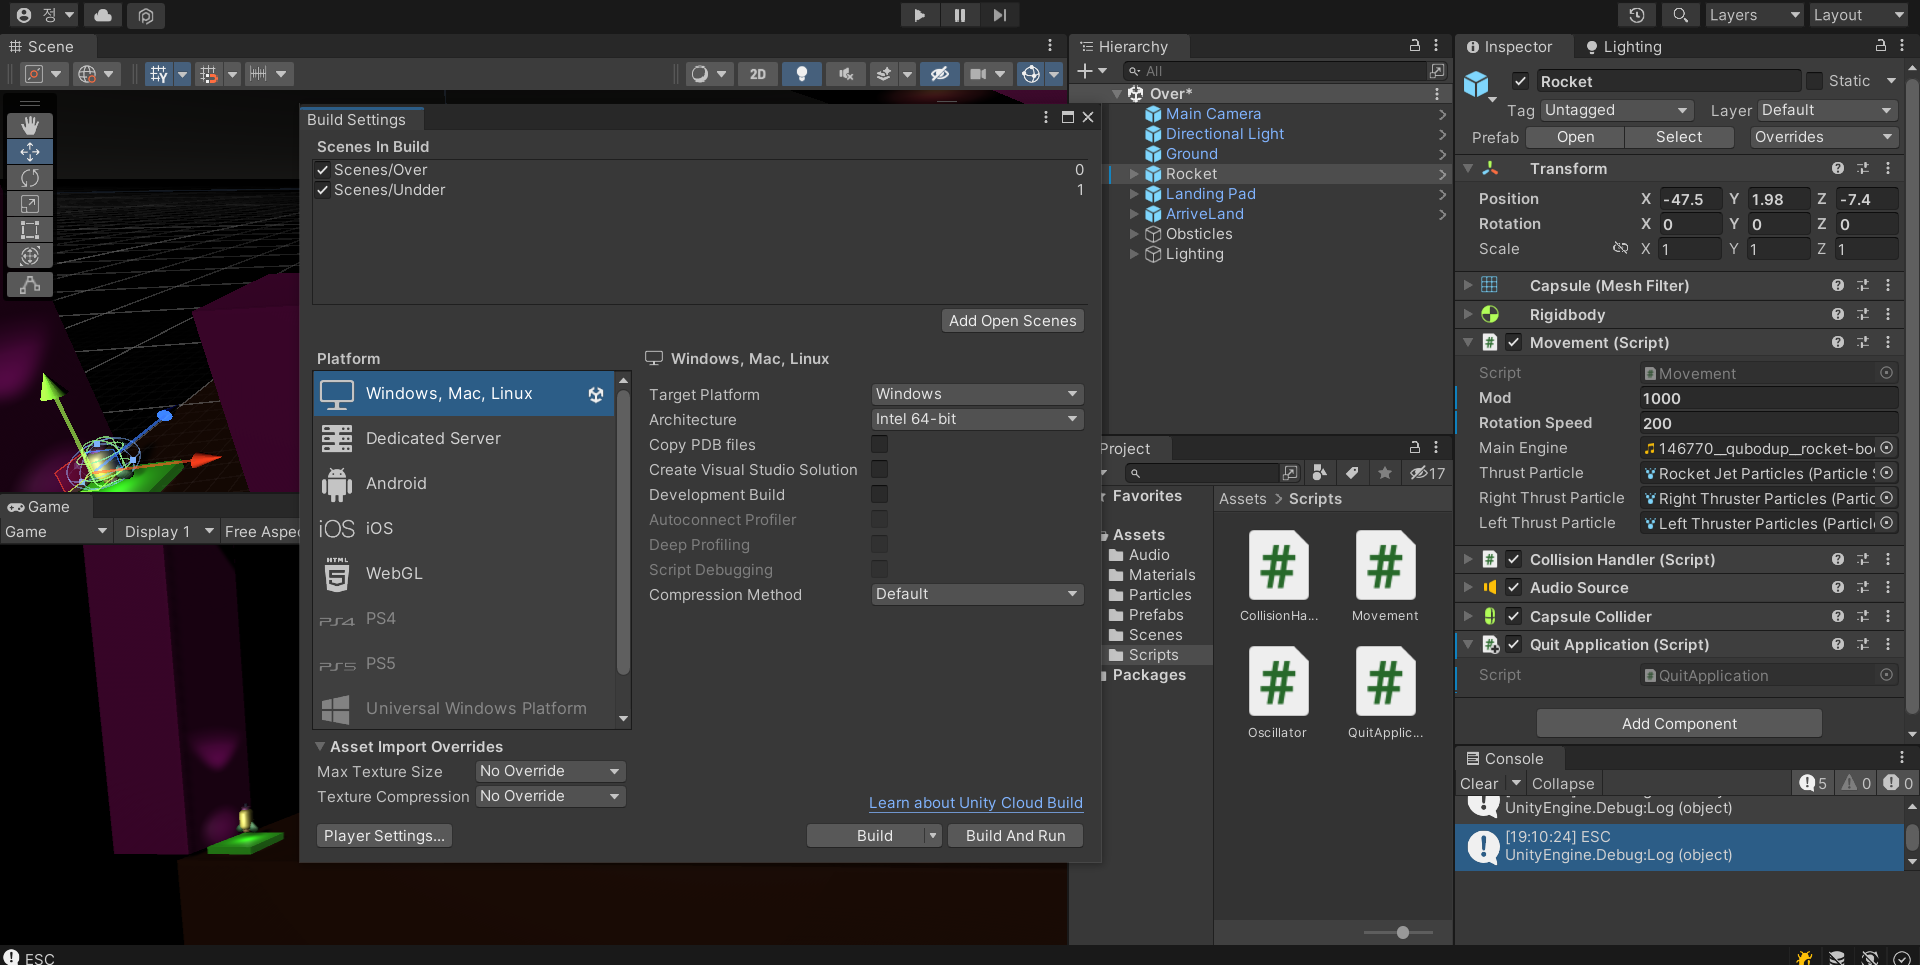
치트키
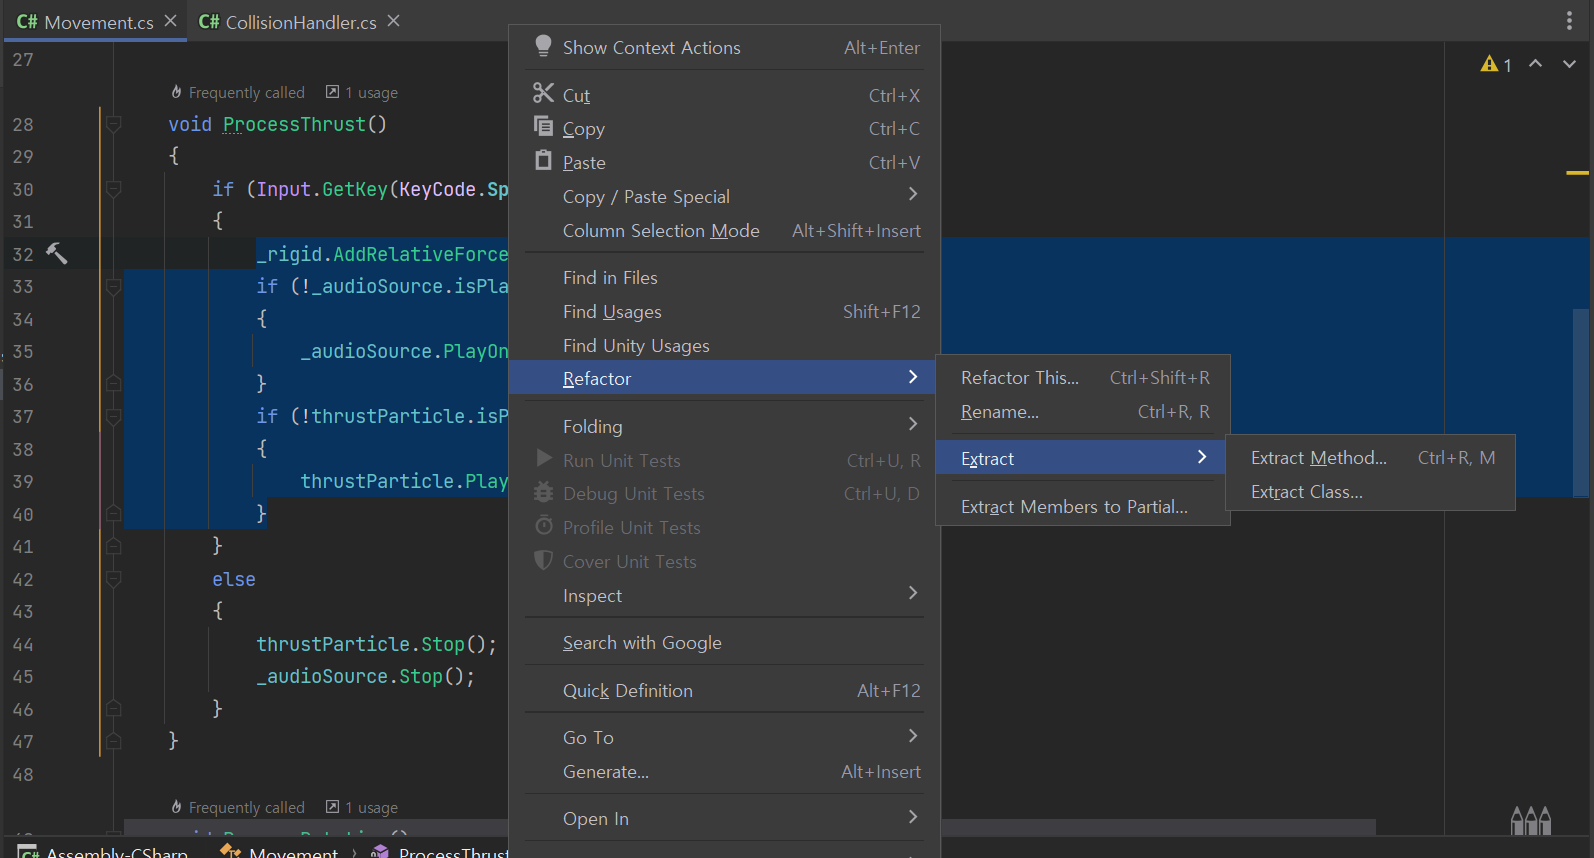
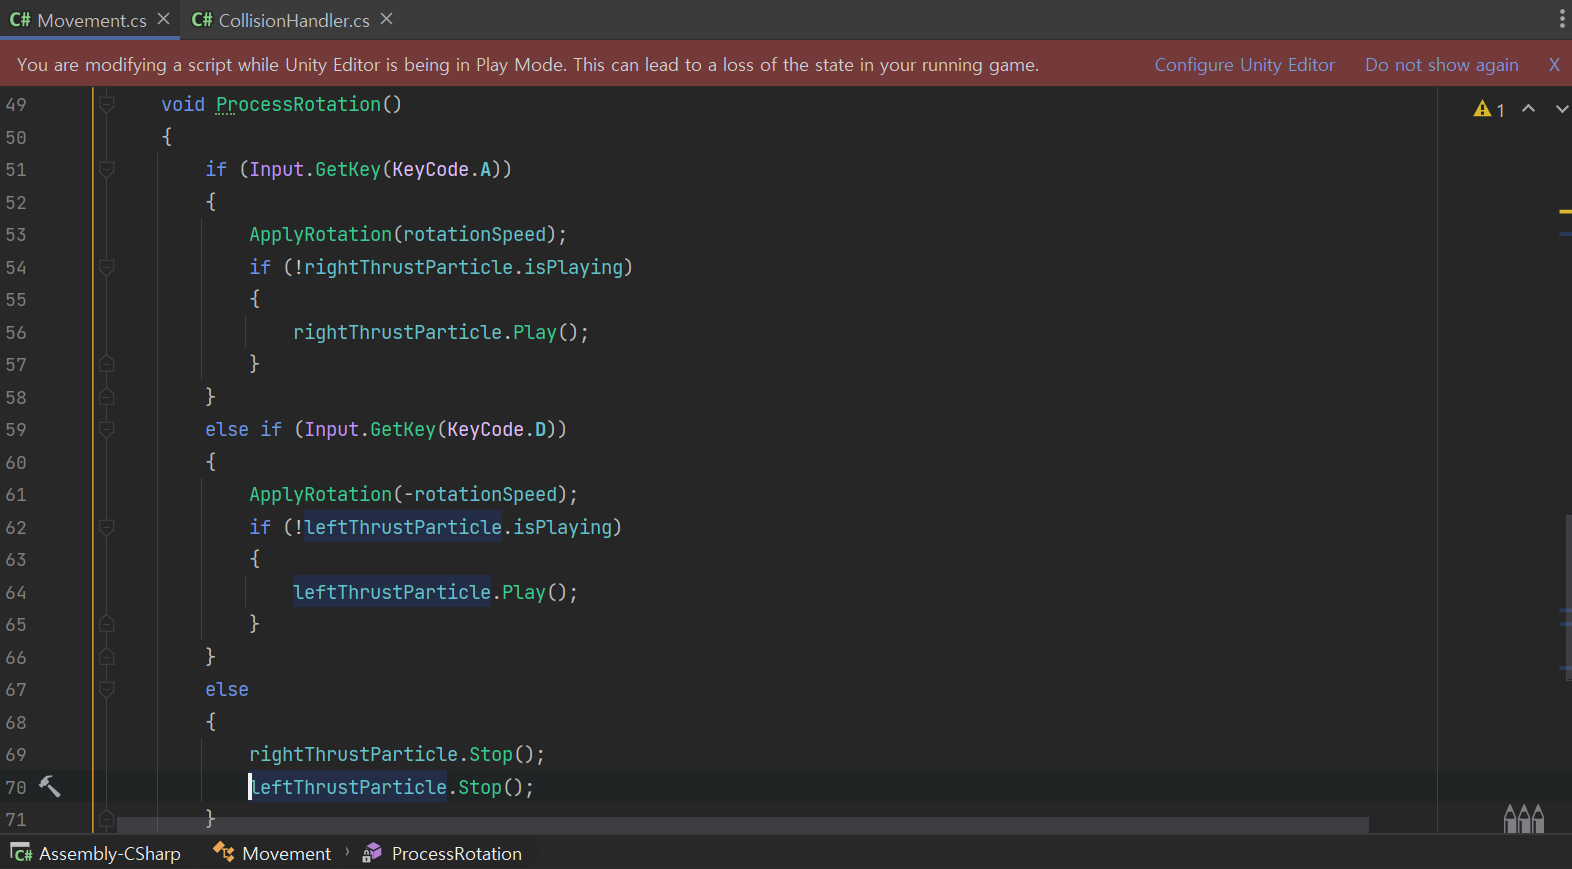
L을 누르면 다음 레벨로 가게, C를 누르면 충돌 효과를 안 받게 하도록 하였다.
bool 타입은 아래처럼 사용하여 꺼져있으면 키고 켜져있으면 끄게 사용 가능하다.
 toggle
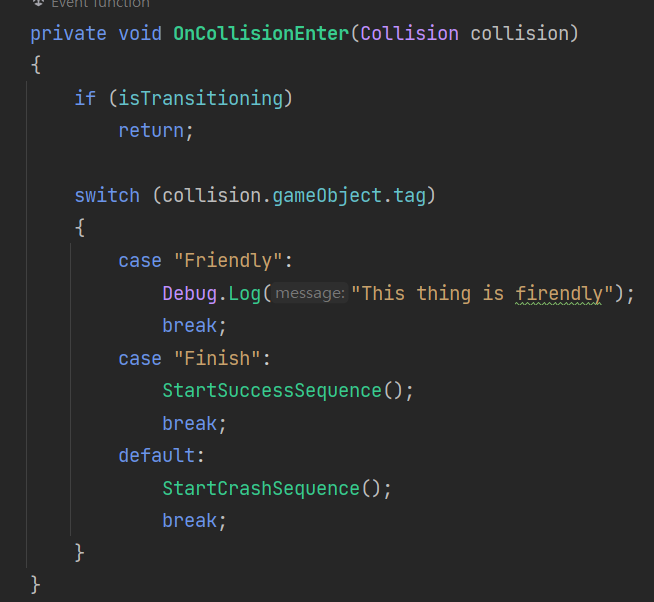
CollisionHandler.cs
using System;
using UnityEngine;
using UnityEngine.SceneManagement;
public class CollisionHandler : MonoBehaviour
{
private bool isTransitioning = false;
private bool collisionDisabled = false;
private AudioSource _audioSource;
private Movement _movement;
private Collider _collider;
[SerializeField] float levelLoadDelay = 1f;
[SerializeField] private AudioClip crashSound;
[SerializeField] private AudioClip landingSound;
[SerializeField] private ParticleSystem crashParticle;
[SerializeField] private ParticleSystem landingParticle;
void Start()
{
_audioSource = GetComponent<AudioSource>();
_movement = GetComponent<Movement>();
_collider = GetComponent<Collider>();
}
void Update()
{
RespondToDebugKeys();
}
void RespondToDebugKeys()
{
if (Input.GetKeyDown(KeyCode.L))
{
LoadNextLevel();
}
else if (Input.GetKeyDown(KeyCode.C))
{
collisionDisabled = !collisionDisabled; // toggle collision (true면 false, false면 true)
}
}
void OnCollisionEnter(Collision collision)
{
if (isTransitioning || collisionDisabled)
return;
switch (collision.gameObject.tag)
{
case "Friendly":
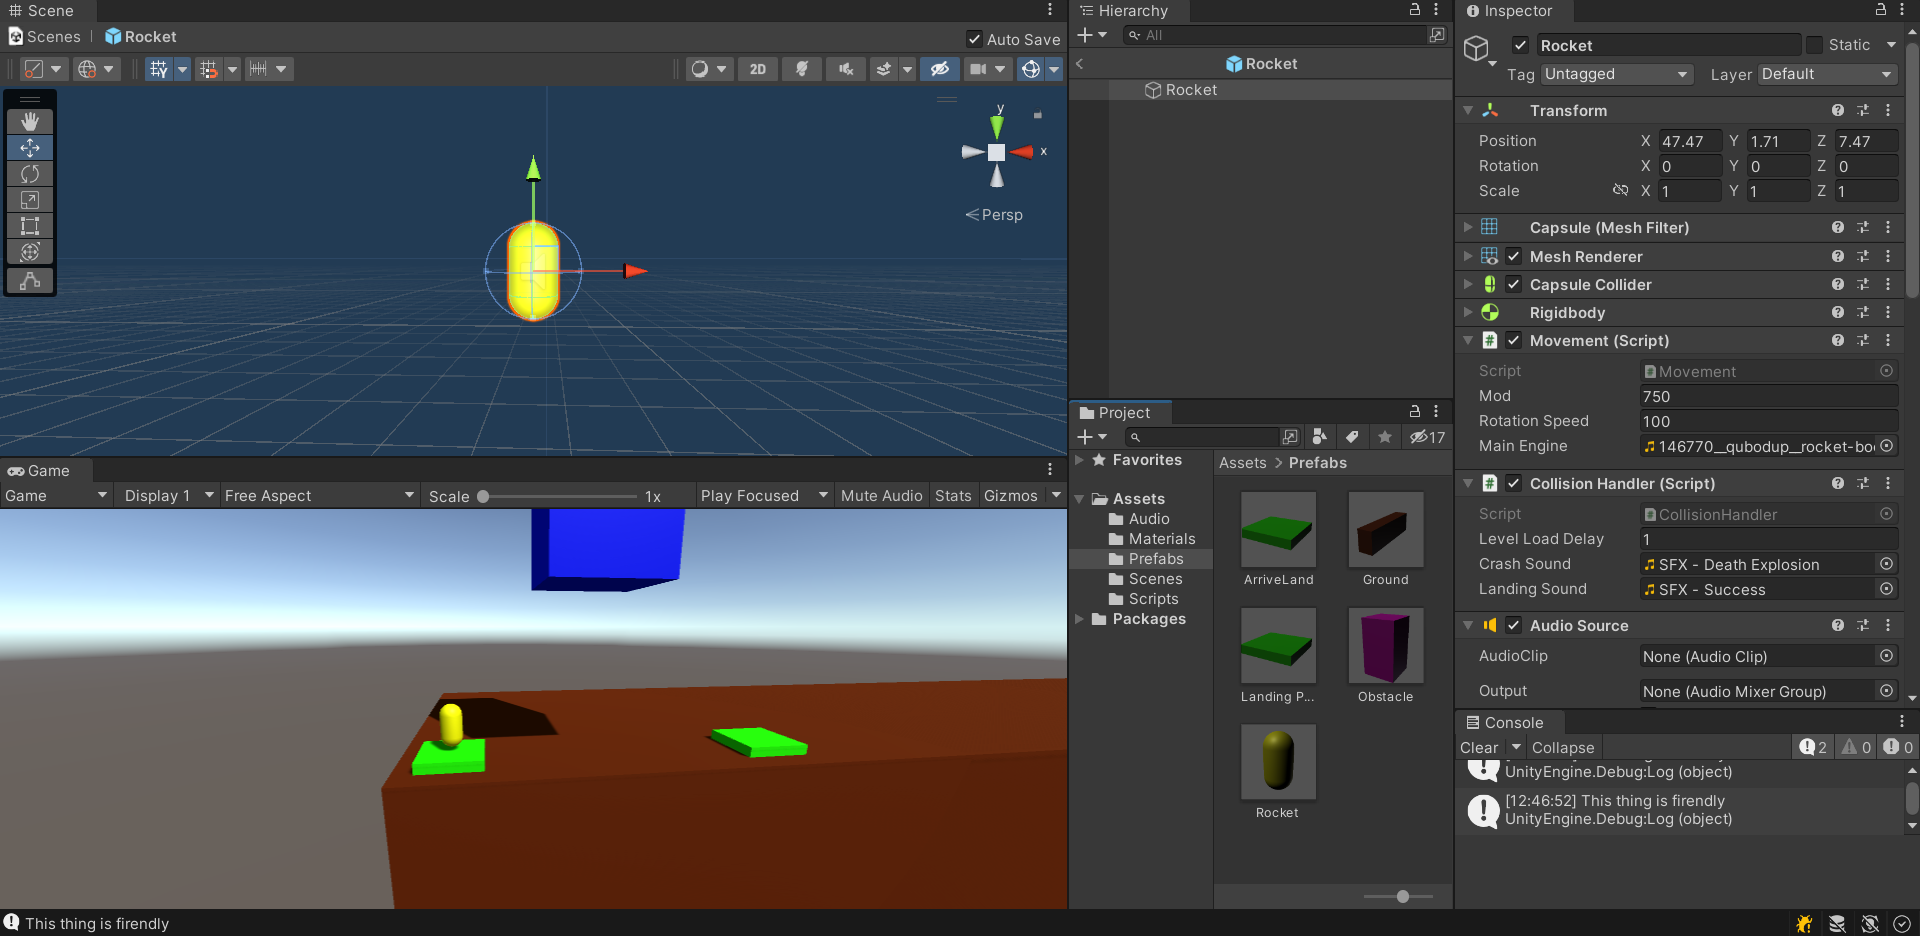
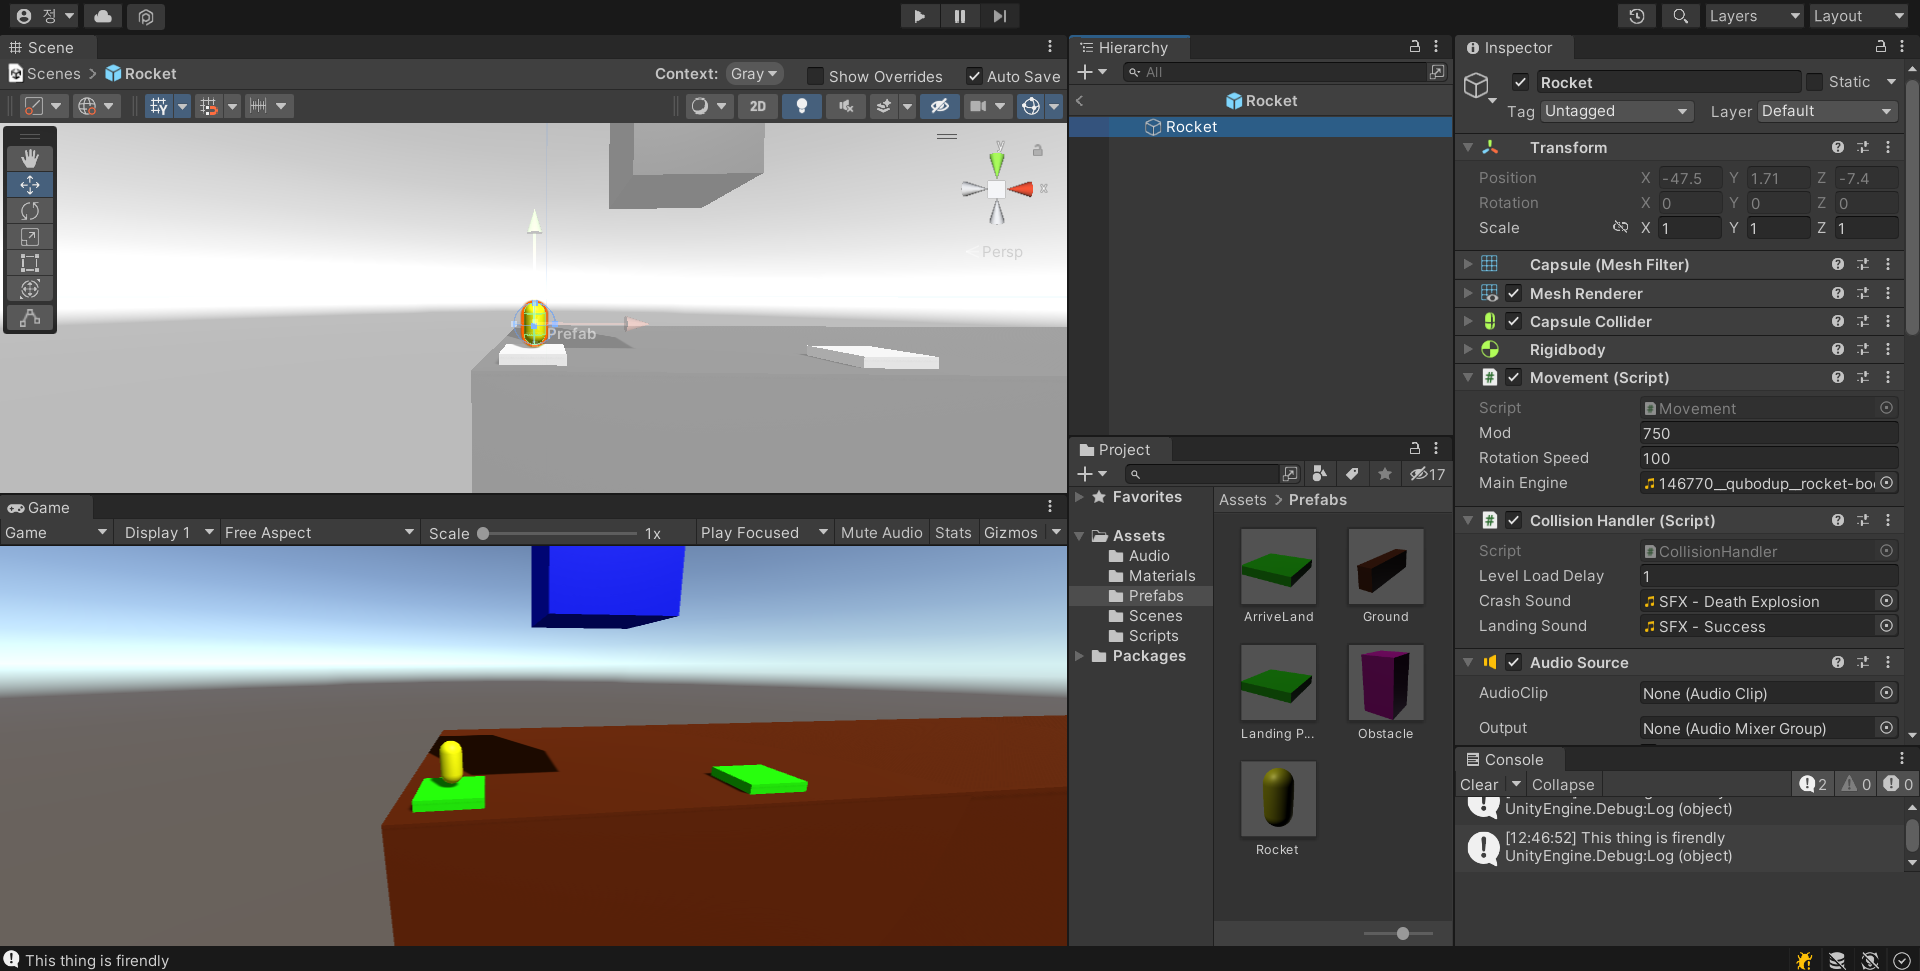
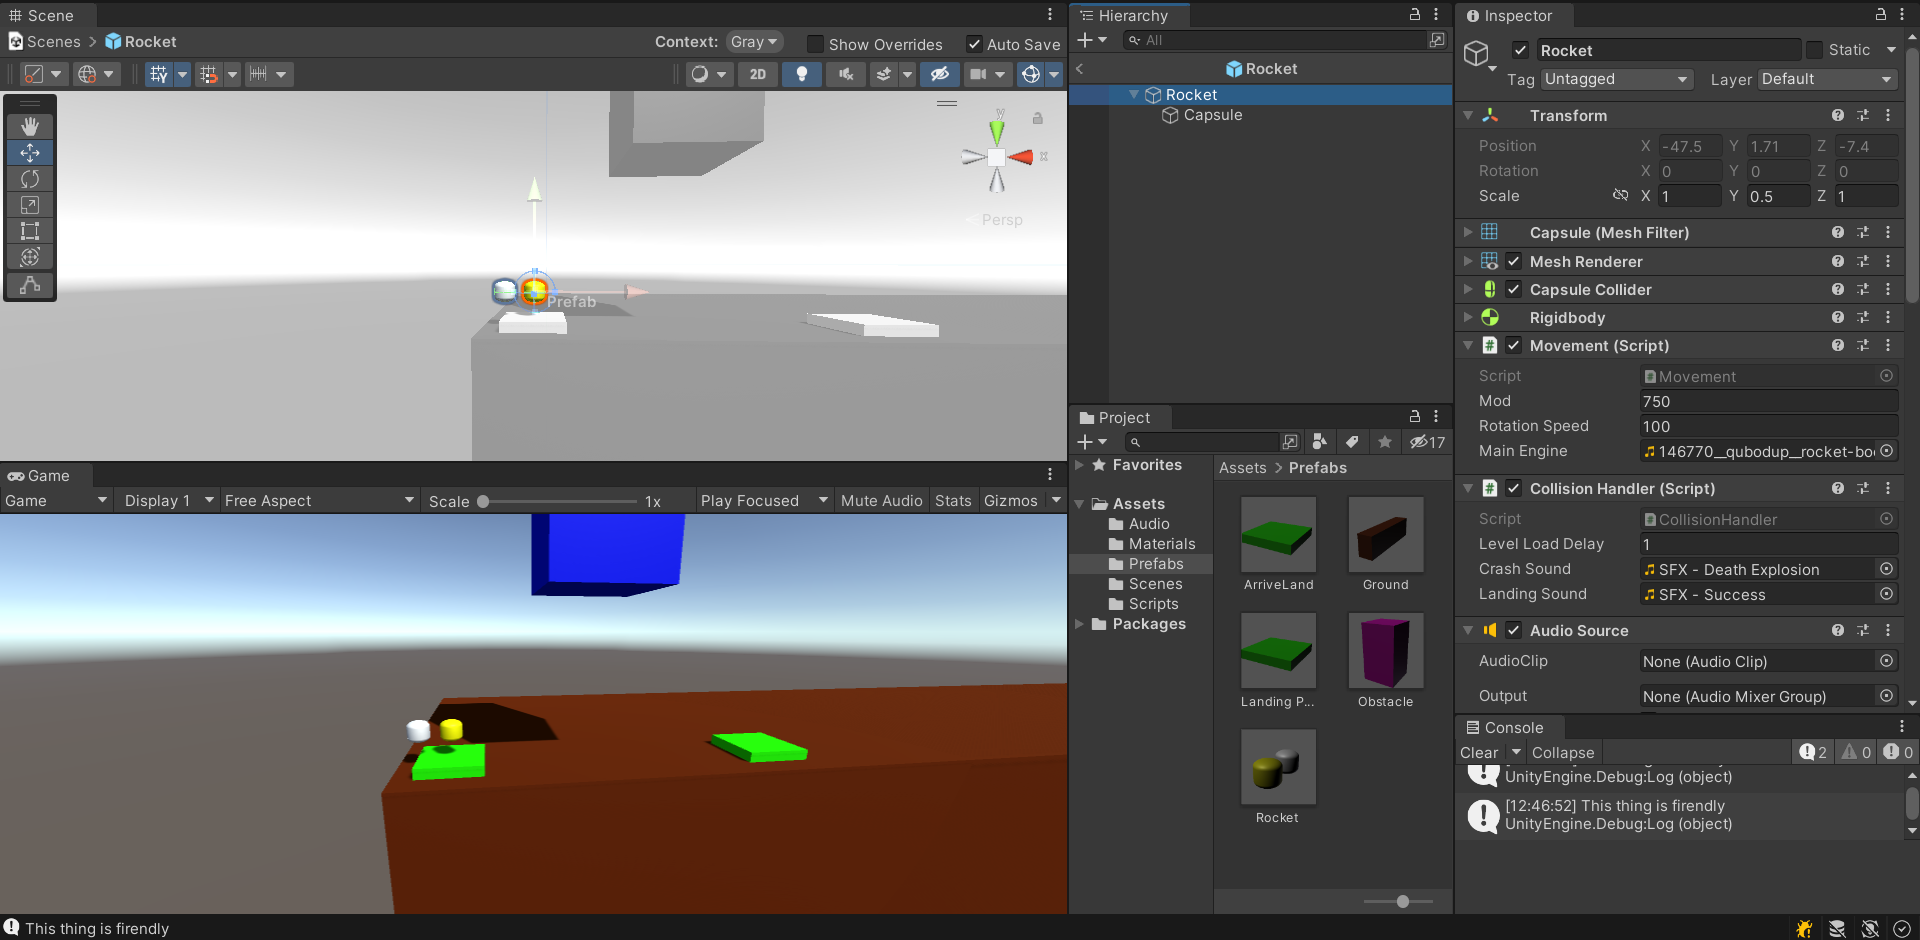
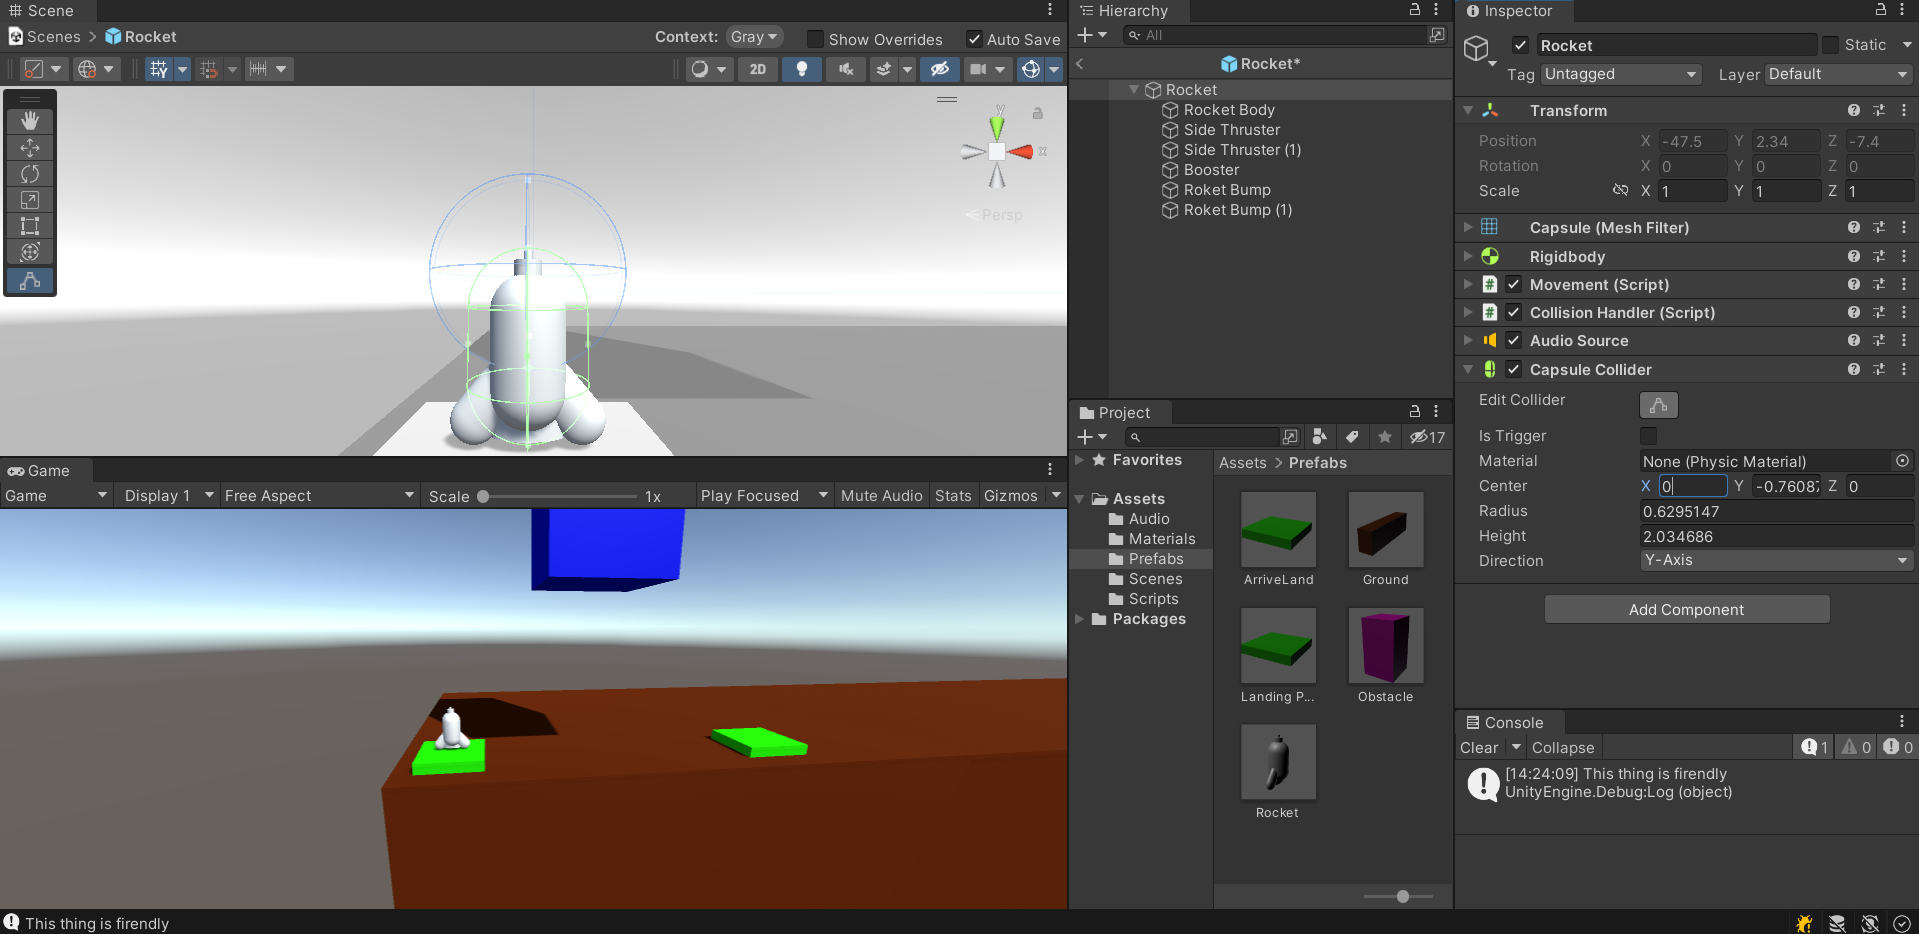
Debug.Log("This thing is firendly");
break;
case "Finish":
StartSuccessSequence();
break;
default:
StartCrashSequence();
break;
}
}
void StartCrashSequence()
{
isTransitioning = true;
_audioSource.Stop();
PlaySound(crashSound);
crashParticle.Play();
_movement.enabled = false;
Invoke(nameof(ReloadLevel), levelLoadDelay);
}
void LoadNextLevel()
{
int currentSceneIndex = SceneManager.GetActiveScene().buildIndex;
int nextSceneIndex = currentSceneIndex + 1;
if (nextSceneIndex == SceneManager.sceneCountInBuildSettings)
{
nextSceneIndex = 0;
}
SceneManager.LoadScene(nextSceneIndex);
}
void StartSuccessSequence()
{
isTransitioning = true;
_audioSource.Stop();
PlaySound(landingSound);
landingParticle.Play();
_movement.enabled = false;
Invoke(nameof(LoadNextLevel), levelLoadDelay);
}
void ReloadLevel()
{
int currentSceneIndex = SceneManager.GetActiveScene().buildIndex;
SceneManager.LoadScene(currentSceneIndex);
}
void PlaySound(AudioClip clip)
{
GetComponent<AudioSource>().PlayOneShot(clip);
}
}
외부 환경 만들기
라이팅
Main Directional Light(sun) - 위치는 상관 없고 방향이 중요하다.(그림자에 영향을 줌)
Environment Lighting : 반사광
Scene Lights : Point Light, Spot Light
- PointLight : 전구와 비슷함, 범위가 있고 가운데에서 멀어질 수록 밝기가 낮음
ex) 가로등
 Point Light
- Spot Light : 극장에서의 스포트라이트와 비슷함
 Spot Light
* 라이팅을 어둡게 설정하고 싶은데 씬 창에서 조작하기 불편하다 하면 조명키를 눌러주면 된다. (대신 조명 설정은 못 봄)
 씬창 조명 키기
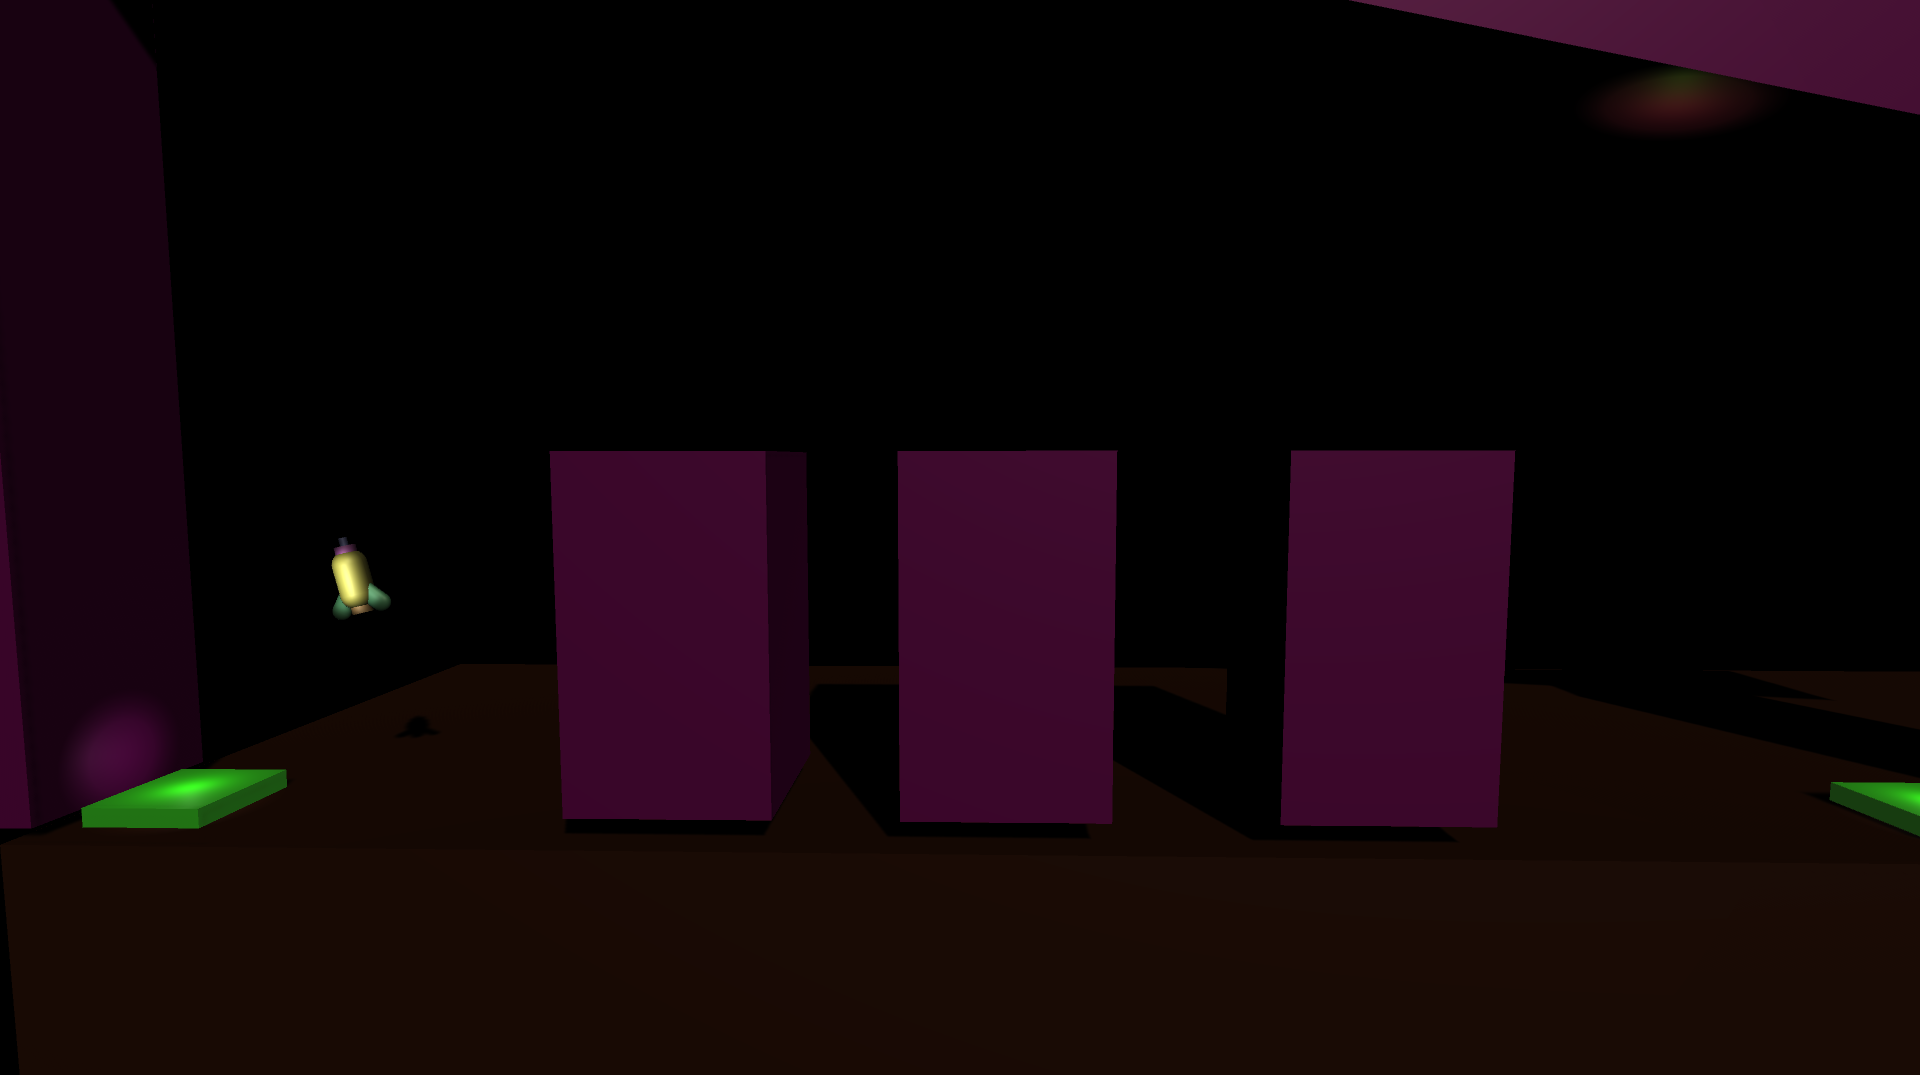
- 장애물과 출발지, 도착지에는 Point Light 캐릭터에는 스포트라이트를 두어 어디로 가는지 어디가 위험한지 직관적으로 표현한다.
 캐릭터 Spot Light
Material의 Emssion을 활용하면 발광체를 만들 수도 있다.
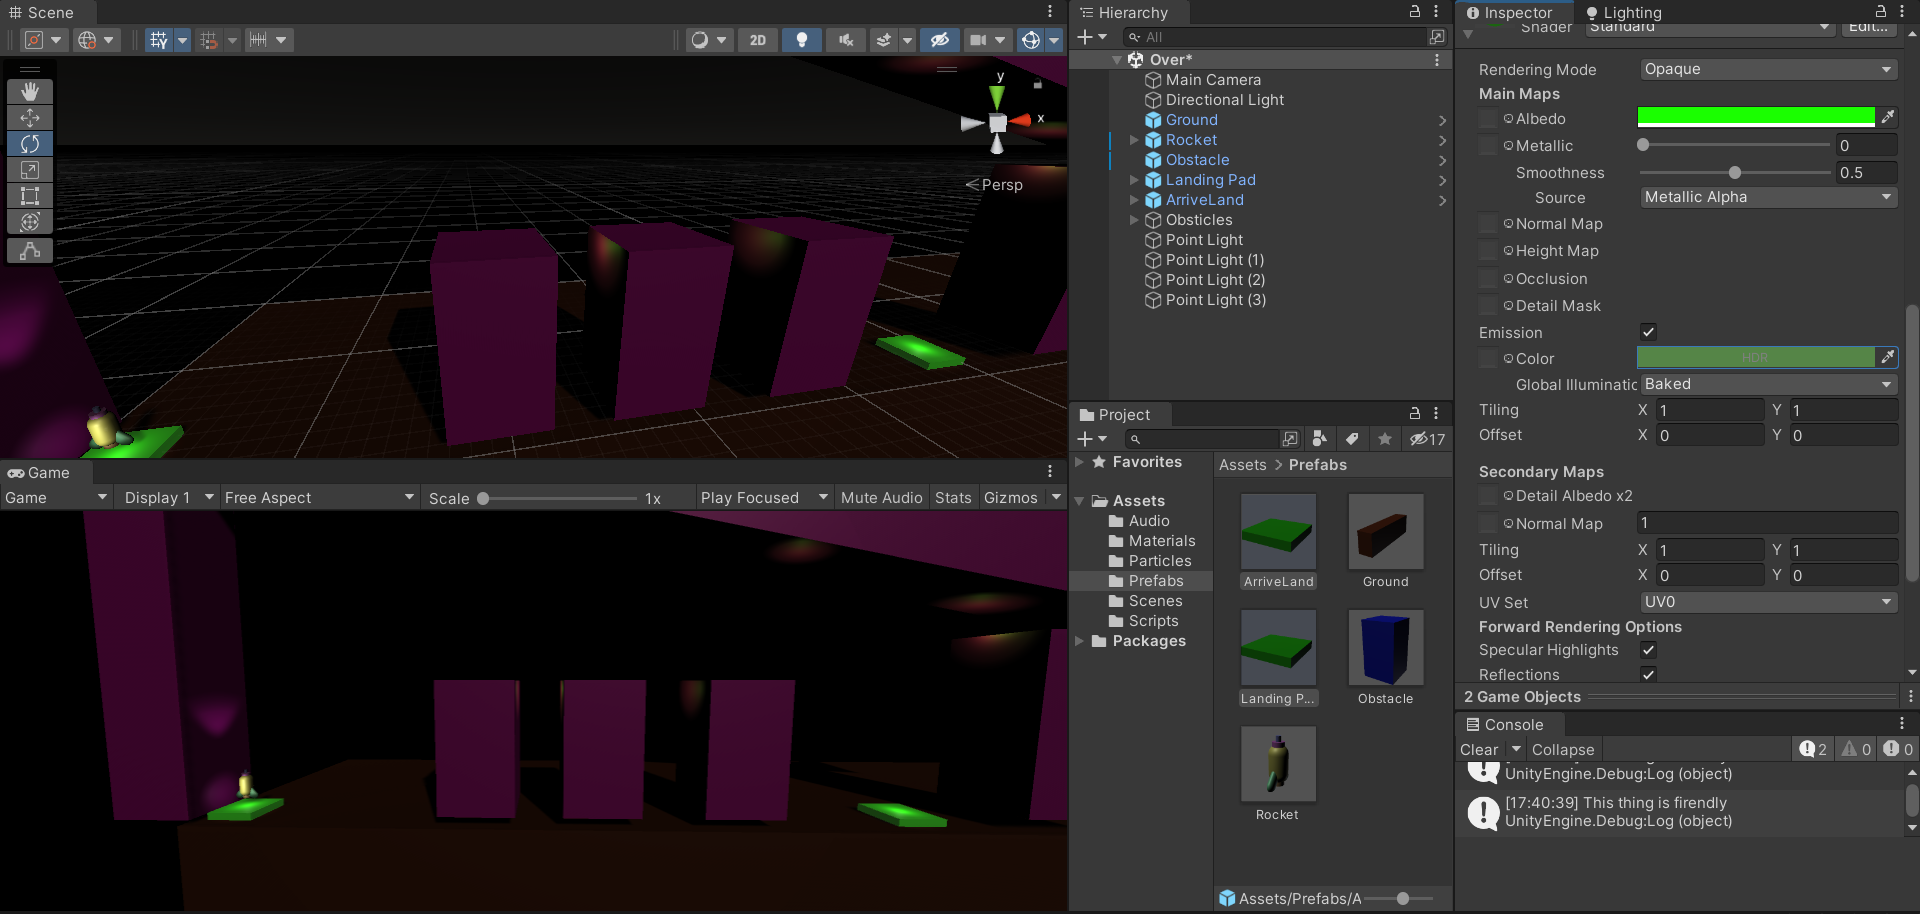 Emission
Window - Rendering - Lighting에서 Enviroment의 Skybox Material부터 바꿔줬다.
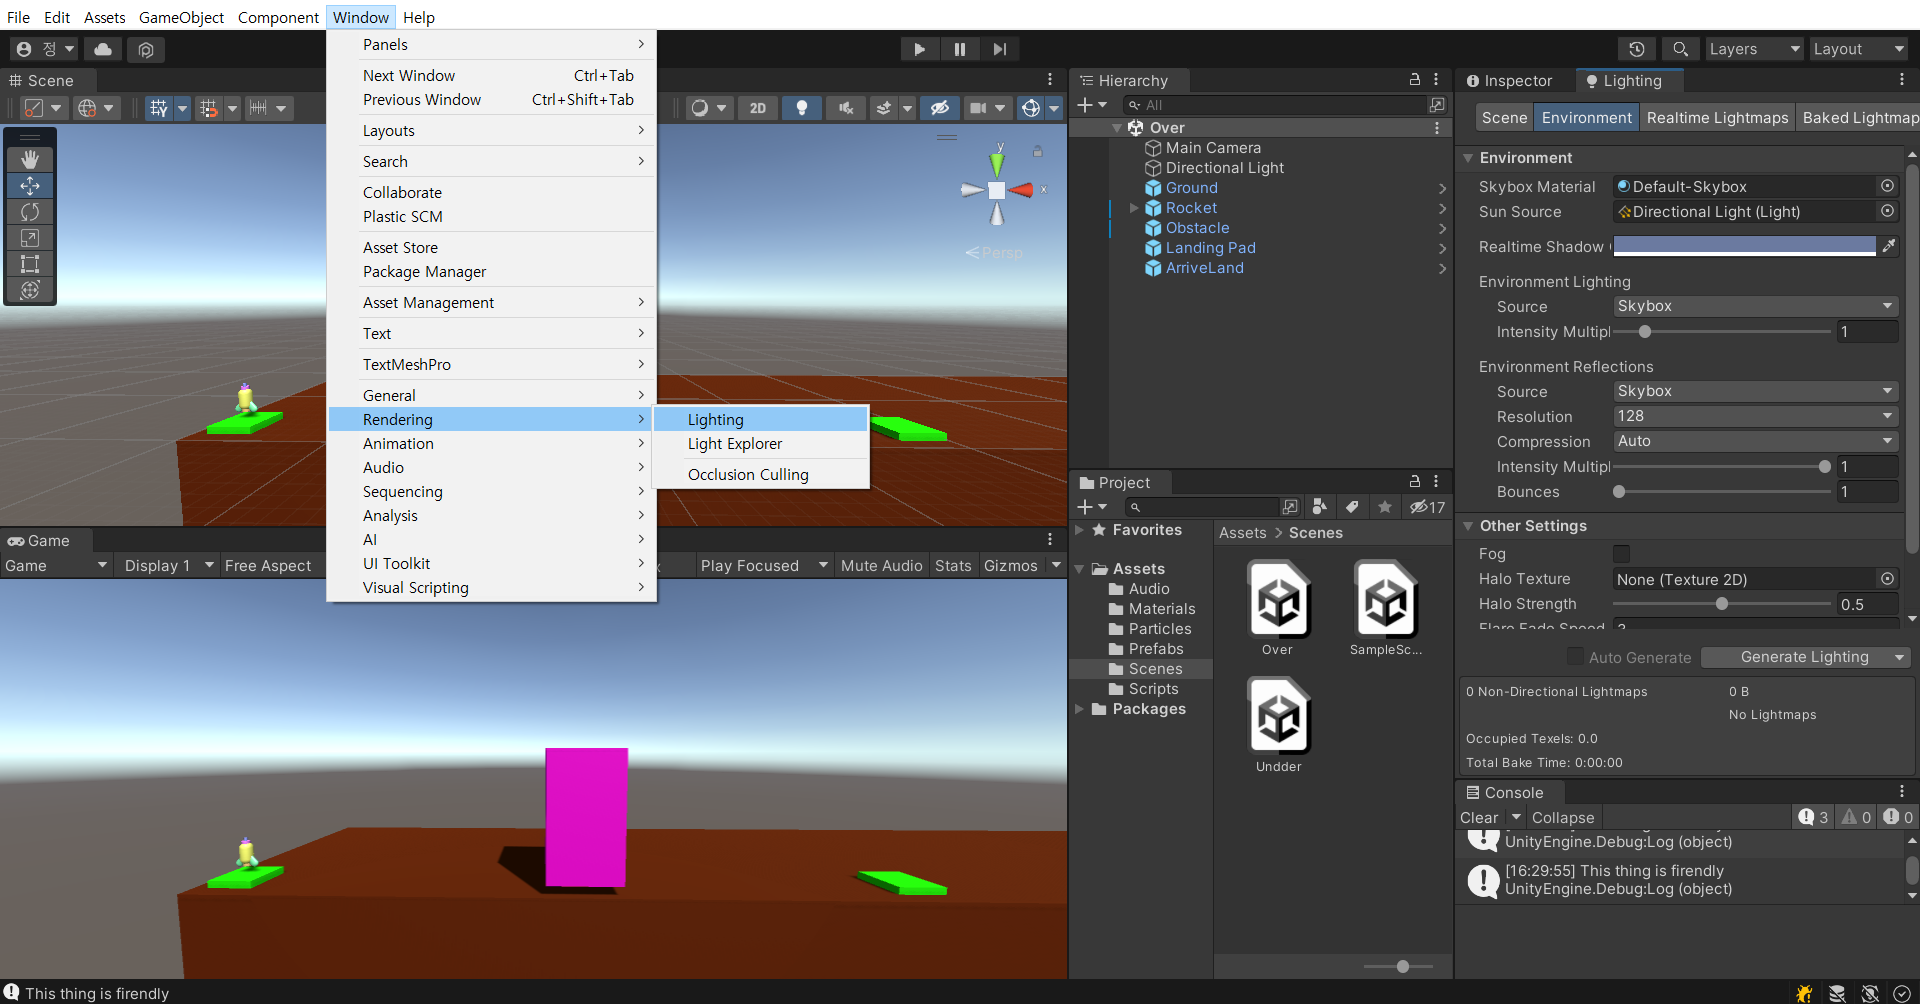 Lighting
이후 프로젝트 창에서 Material을 하나 생성해서 Shader 탭에서 Skybox 중 Procedual으로 바꿔줬다.
 Shader - Skybox - Procedual
이 쉐이더에서 skybox 부분 요소를 정할 수 있다.
 지평선이 덜 어둡게 보인다.
이후 카메라에서 Clear Flags를 Solid Color로 해주고 Background를 검정색으로 하면 뒷 배경도 어두워진다.
 뒷 배경도 어두워졌다.
피봇 사용하기
씬에서 오브젝트를 다룰 때 Global 대신 Local을 사용하면 그 오브젝트의 피봇을 기준으로 조작할 수 있다.
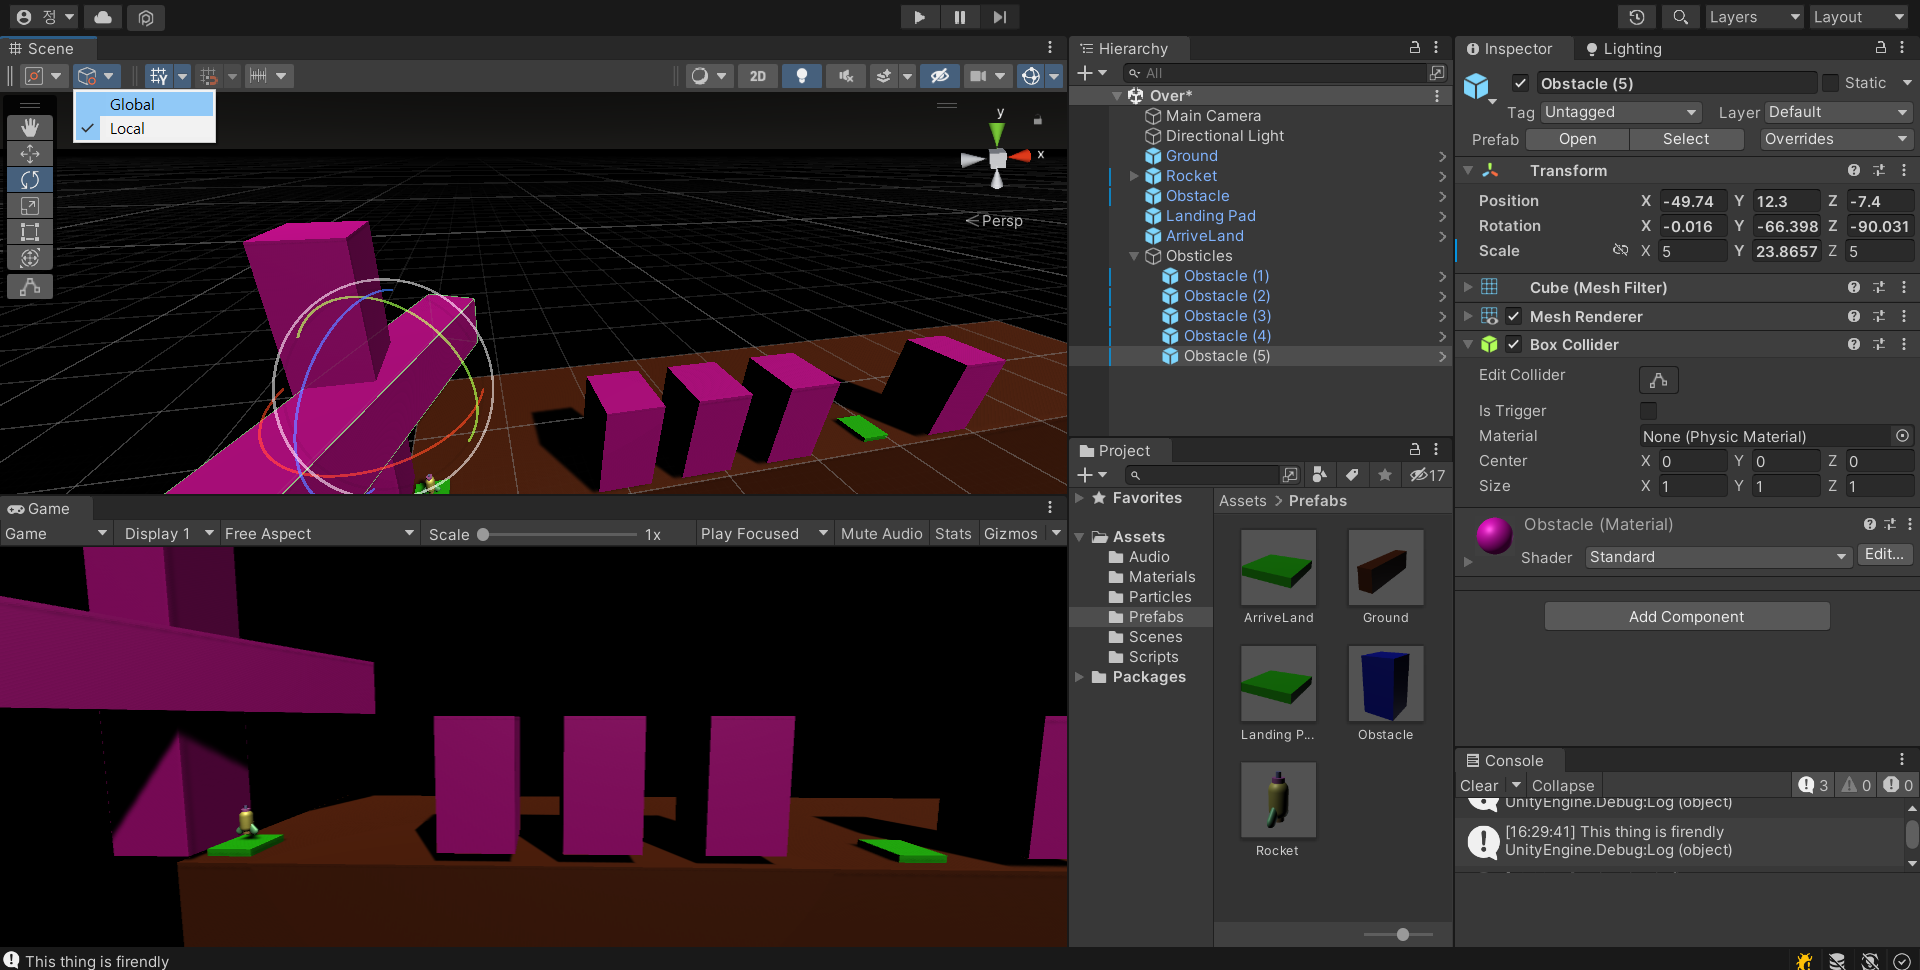 피봇
피봇