- 단점 : 문자열 참조로 함수 이름을 변경하거나 동적으로 할당할 때 불편함, 코루틴에 비해 성능이 떨어짐
using System.Collections;
using System.Collections.Generic;
using UnityEngine;
using UnityEngine.SceneManagement;
public class CollisionHandler : MonoBehaviour
{
[SerializeField]
float levelLoadDelay = 1f;
private void OnCollisionEnter(Collision collision)
{
switch (collision.gameObject.tag)
{
case "Friendly":
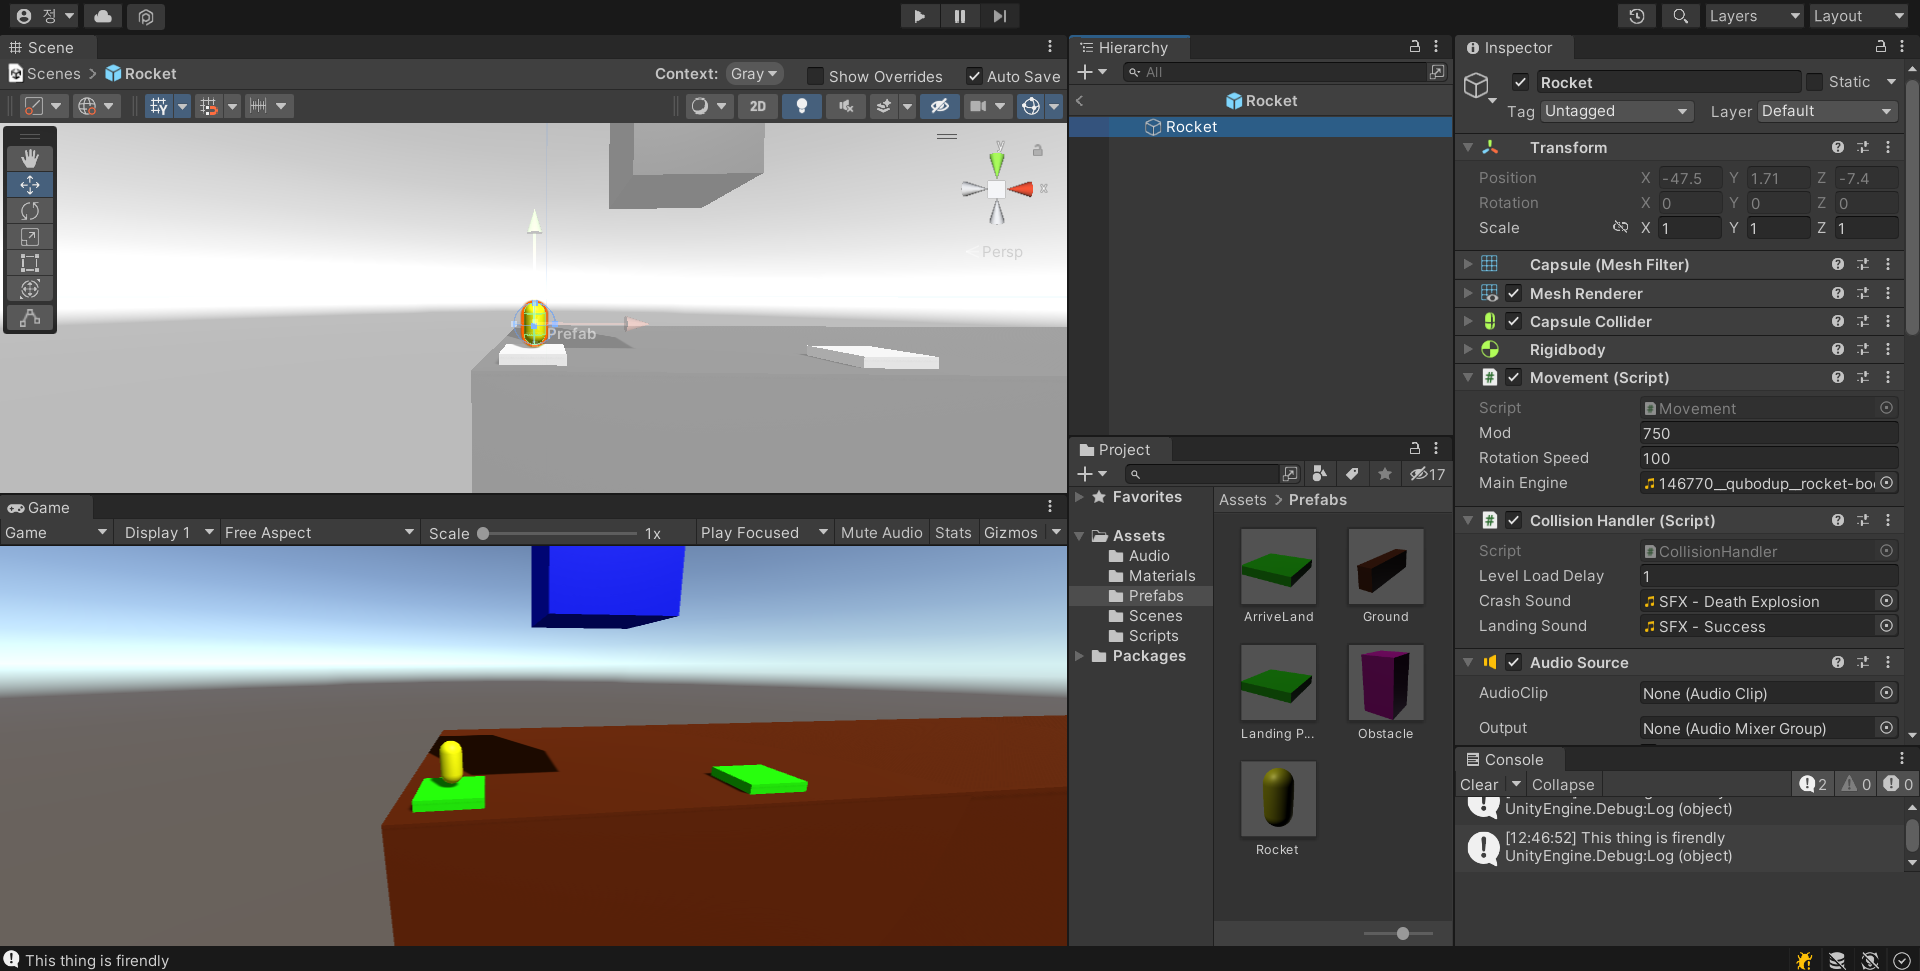
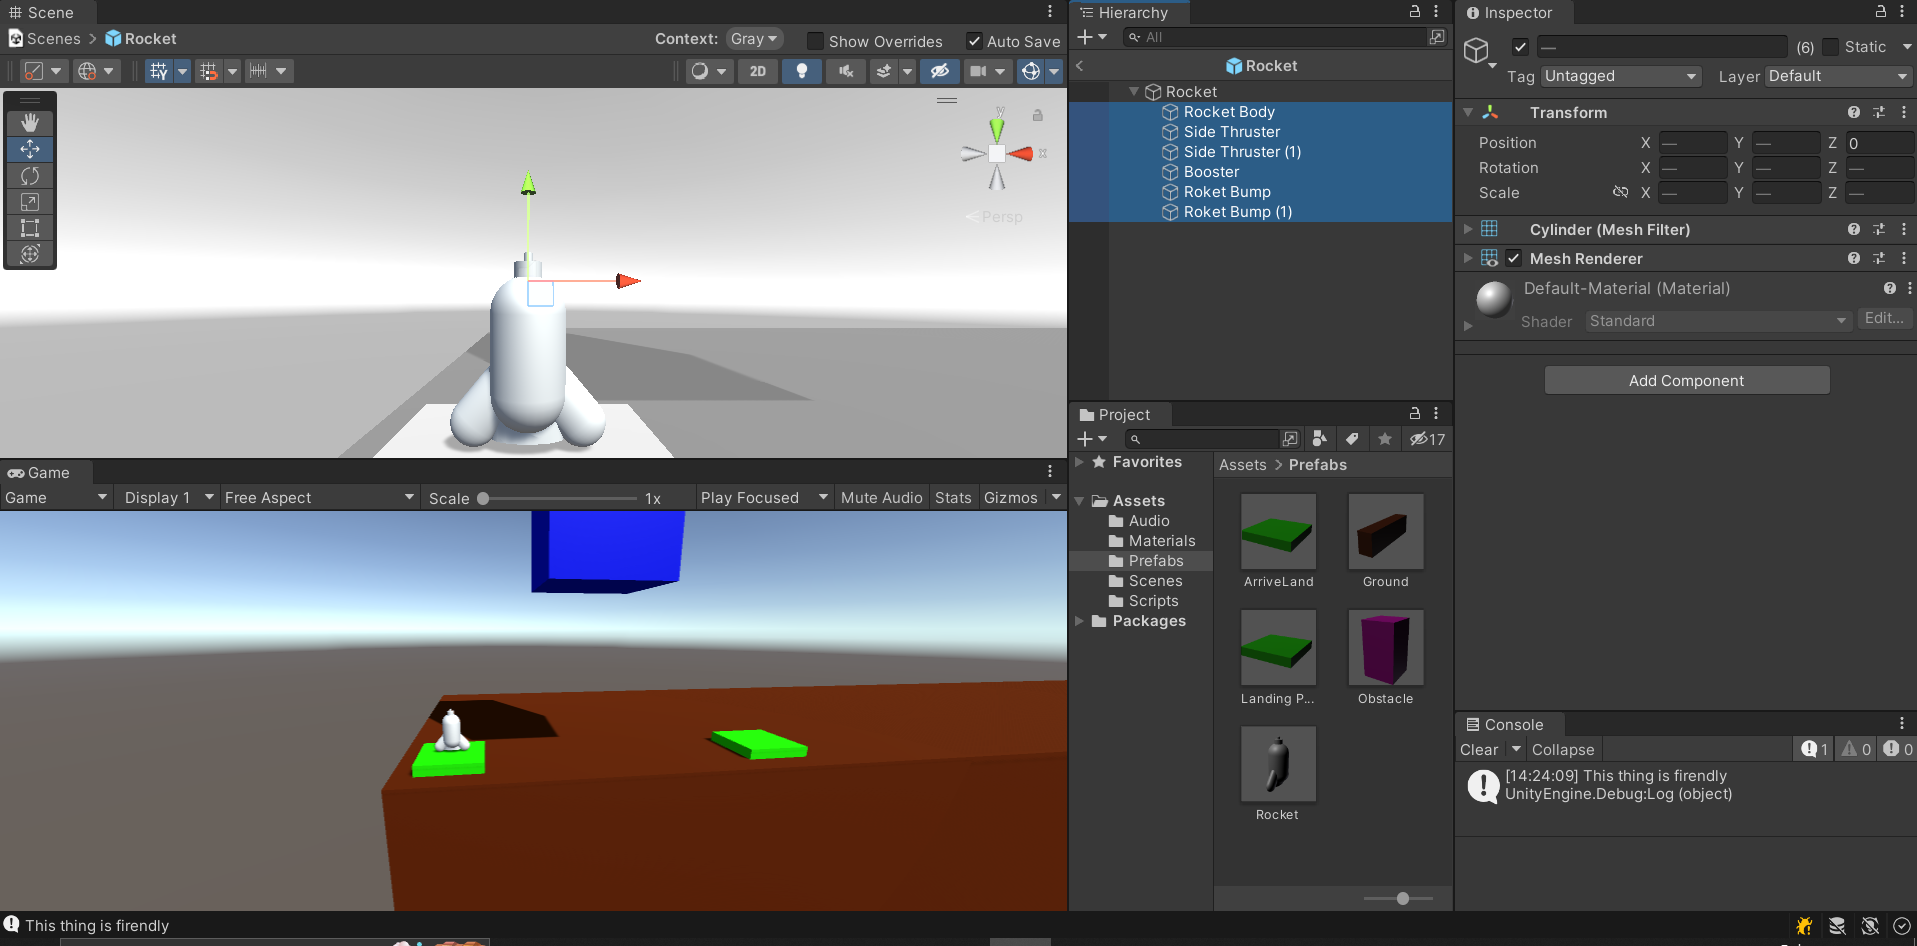
Debug.Log("This thing is firendly");
break;
case "Finish":
StartSuccessSequence();
break;
default:
StartCrashSequence();
break;
}
}
// 추락 시퀀스 후 씬 전환
void StartCrashSequence()
{
// 추락할 때 효과음 넣기
// 추락할 때 파티클 넣기
GetComponent<Movement>().enabled = false;
Invoke("ReLoadLevel", levelLoadDelay);
}
void LoadNextLevel()
{
int currentSceneIndex = SceneManager.GetActiveScene().buildIndex;
int nextSceneIndex = currentSceneIndex + 1;
// SceneManager.sceneCountInBuildSettings 인덱스 총 갯수를 계산
if (nextSceneIndex == SceneManager.sceneCountInBuildSettings)
{
nextSceneIndex = 0;
}
SceneManager.LoadScene(nextSceneIndex);
}
// 성공 시퀀스 후 씬 전환
void StartSuccessSequence()
{
// 추락할 때 효과음 넣기
// 추락할 때 파티클 넣기
GetComponent<Movement>().enabled = false;
Invoke("LoadNextLevel", levelLoadDelay);
}
void ReLoadLevel()
{
// 변수에 저장하는 이유는 나중에 봤을 때 코드를 해석할 시간을 줄이기 위해서이다.
int currentSceneIndex = SceneManager.GetActiveScene().buildIndex;
// 현재 실행되고 있는 씬의 인덱스를 불러옴
SceneManager.LoadScene(currentSceneIndex);
}
}
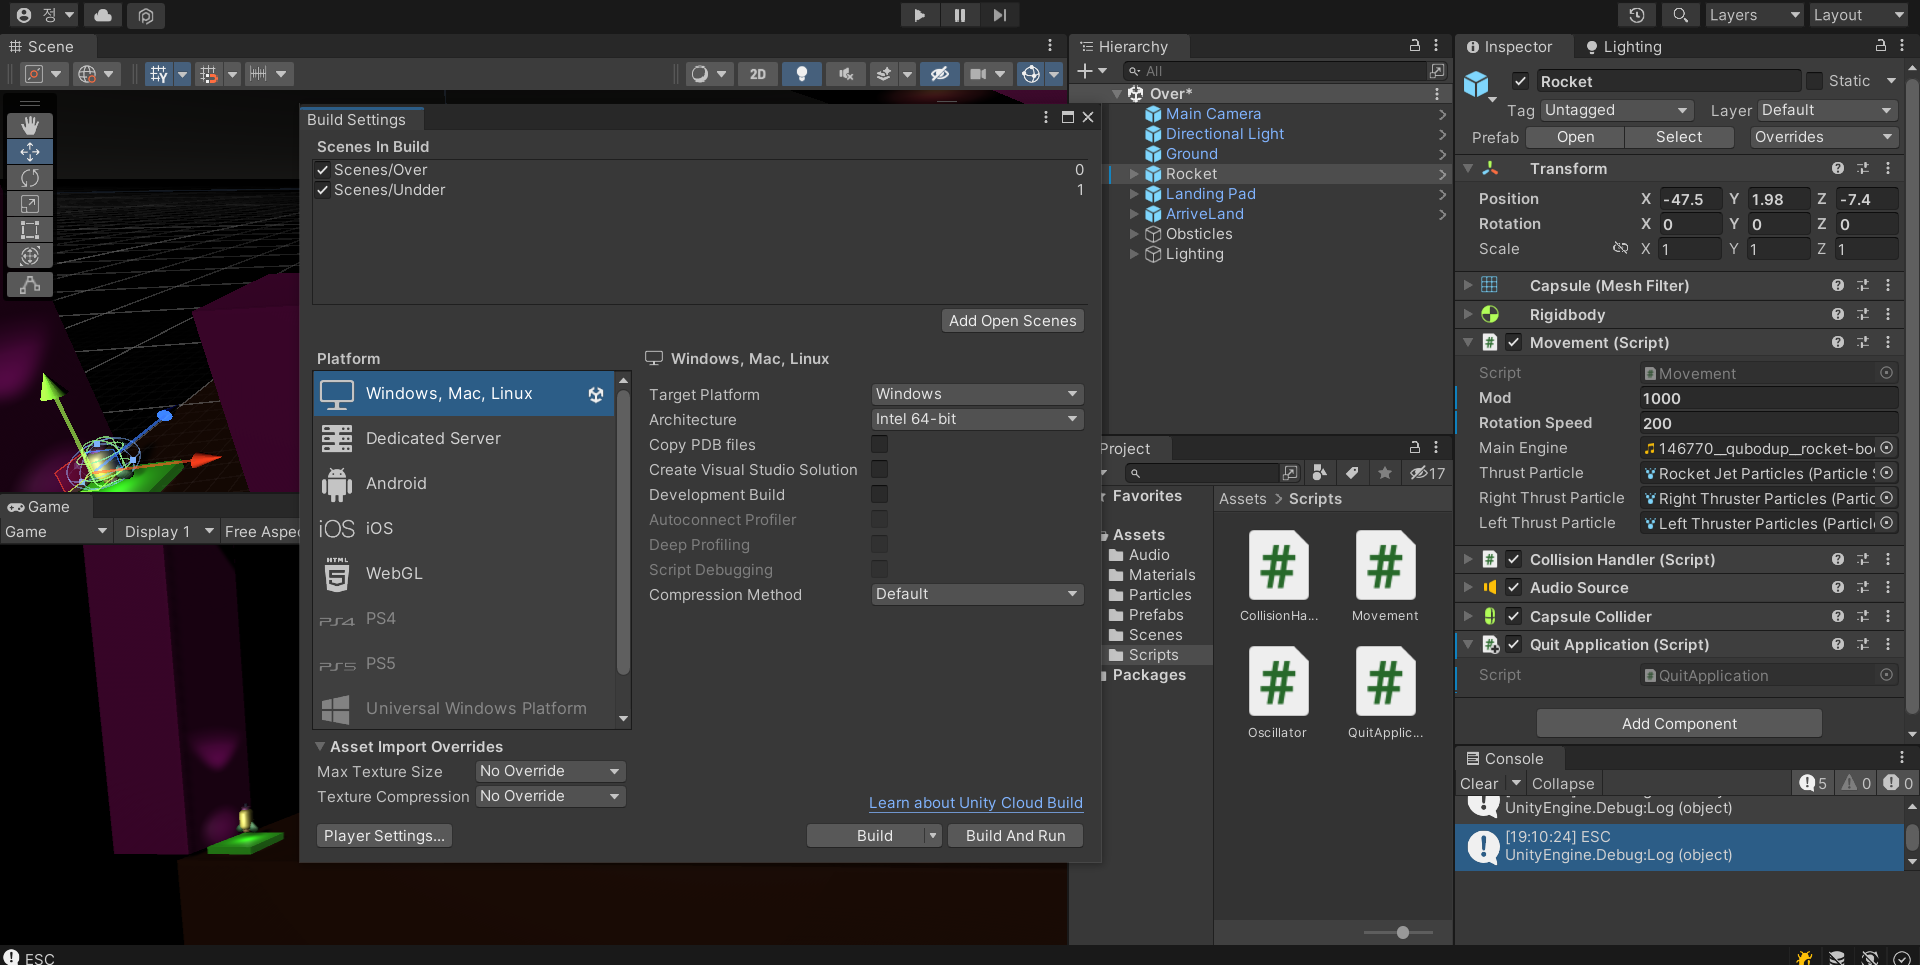
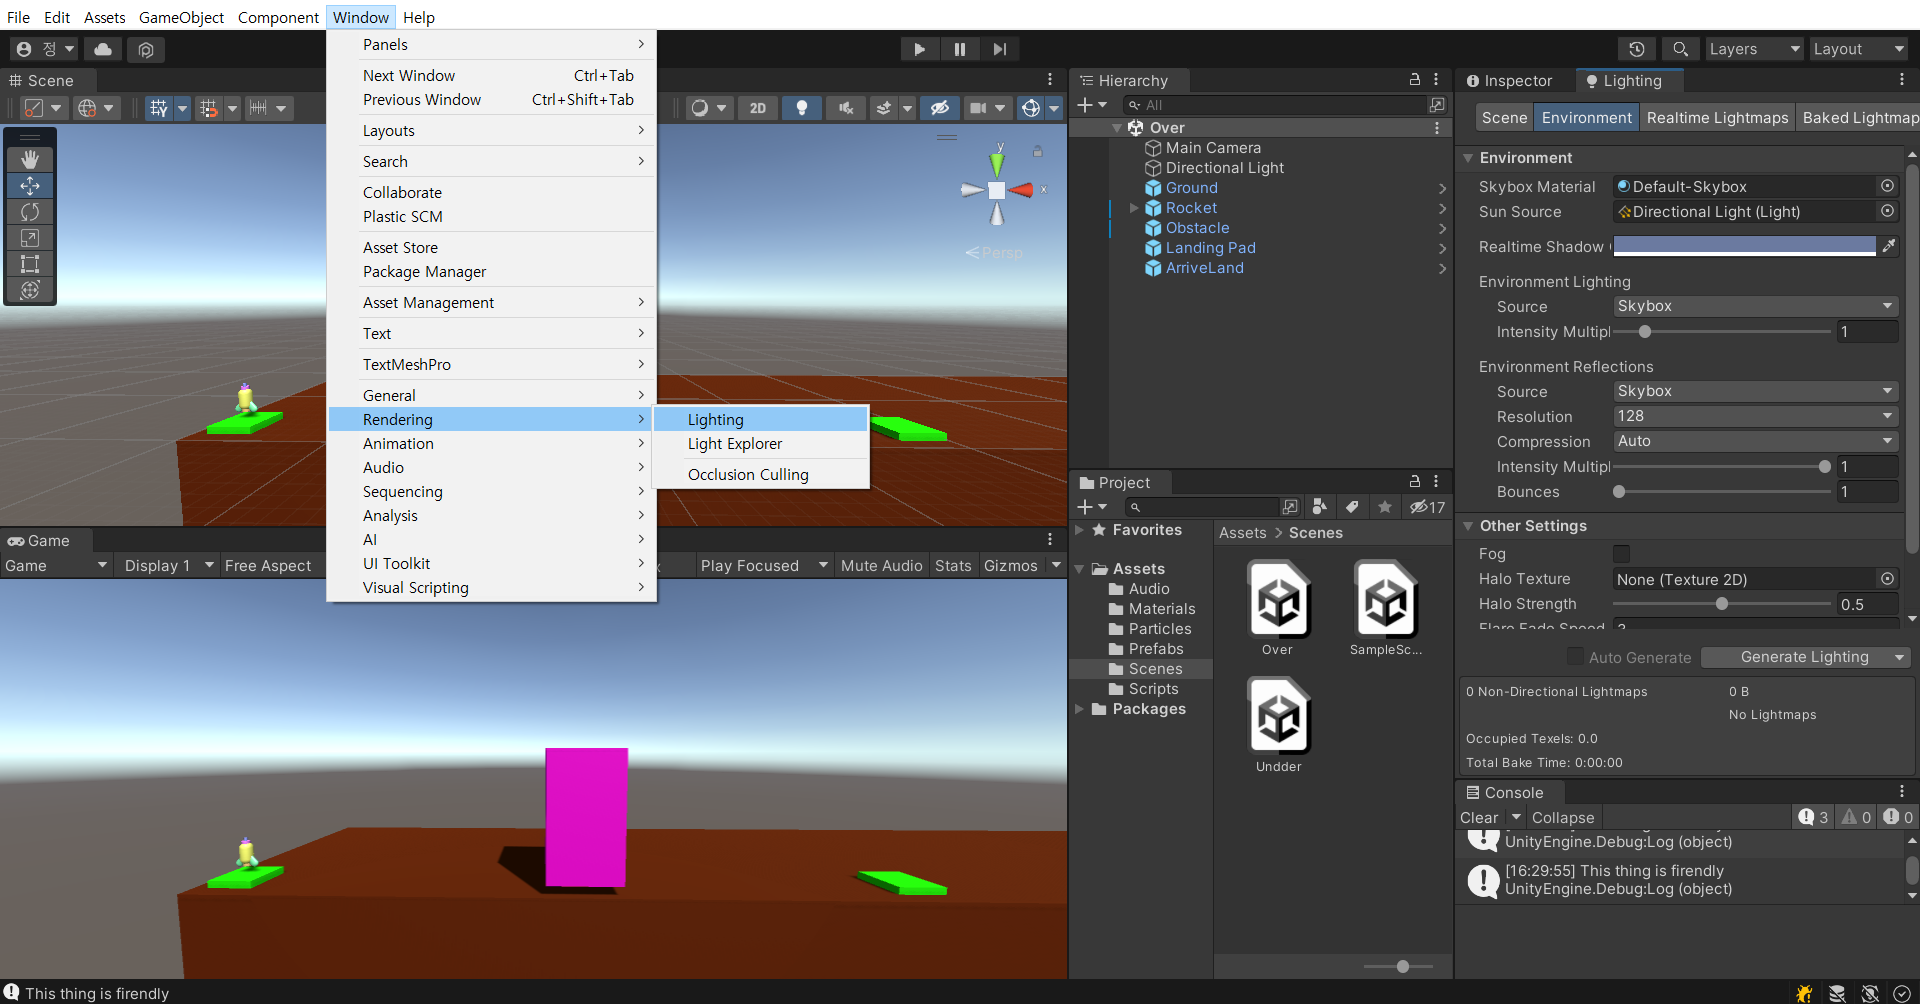
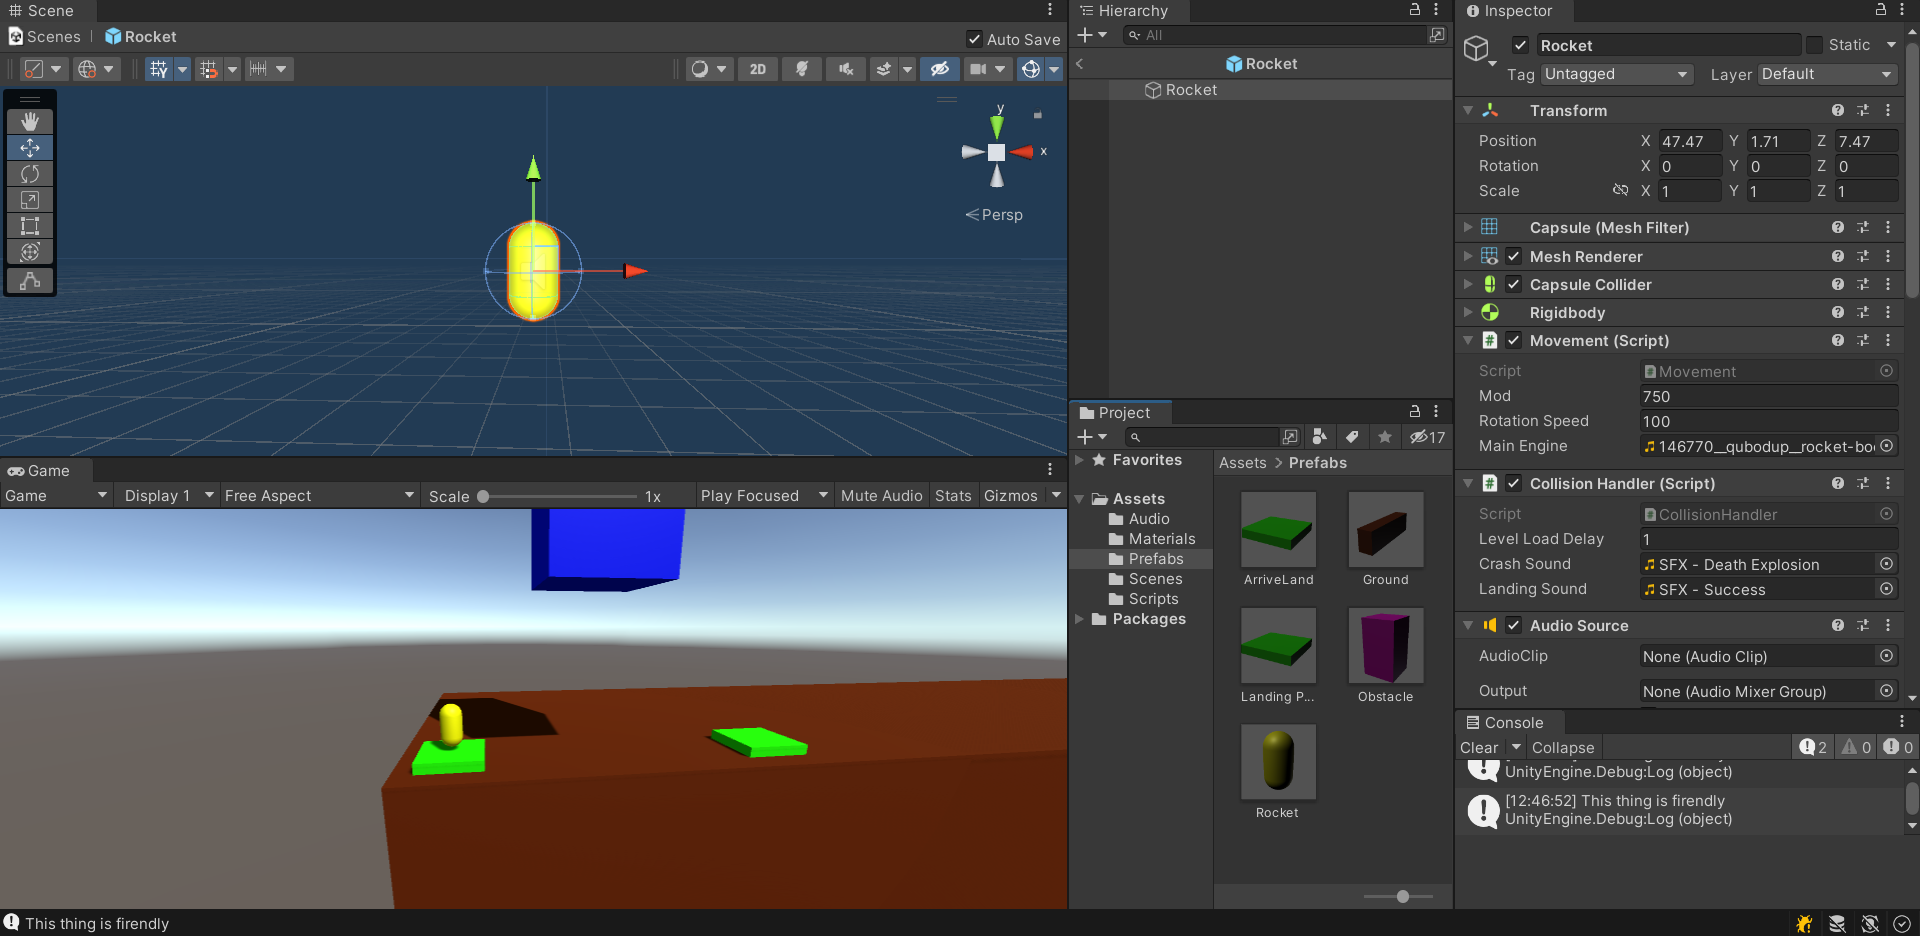
Scene들의 이동은 Build Settings의 Scenes In Build 내의 씬들을 기반으로 이동한다.
* File - Build Settings로 접근 가능하다.
- 씬은 Add Open Scenes를 눌러 현재 켜져있는 씬을 추가하거나 드래그 앤 드롭으로 에셋폴더에 있는 씬을 Scenes In Build에 가져다 넣어서 추가하면 된다.
- 우측에 숫자는 인덱스인데 0부터 시작한다. (배열의 인덱스와 비슷)
Build Settings
CollisionHandler.cs
using System.Collections;
using System.Collections.Generic;
using UnityEngine;
using UnityEngine.SceneManagement;

public class CollisionHandler : MonoBehaviour
{
    private void OnCollisionEnter(Collision collision)
    {
        switch (collision.gameObject.tag)
        {
            case "Friendly":
                Debug.Log("This thing is firendly");
                break;
            case "Finish":
                Debug.Log("Congrats, yo, you finished!");
                LoadNextLevel();
                break;
            case "Fuel":
                Debug.Log("You picked up fuel");
                break;
            default:
                Debug.Log("Sorry, you blew up!");
                ReLoadLevel();
                break;
        }
    }

    void LoadNextLevel()
    {
        int currentSceneIndex = SceneManager.GetActiveScene().buildIndex;
        int nextSceneIndex = currentSceneIndex + 1;
        // SceneManager.sceneCountInBuildSettings 인덱스 총 갯수를 계산
        if (nextSceneIndex == SceneManager.sceneCountInBuildSettings)
        {
            nextSceneIndex = 0;
        }
        SceneManager.LoadScene(nextSceneIndex);
    }

    void ReLoadLevel()
    {
        // 변수에 저장하는 이유는 나중에 봤을 때 코드를 해석할 시간을 줄이기 위해서이다.
        int currentSceneIndex = SceneManager.GetActiveScene().buildIndex;
        // 현재 실행되고 있는 씬의 인덱스를 불러옴
        SceneManager.LoadScene(currentSceneIndex);
    }
}
If나 Else문 같은 조건문으로 하나의 변수와 비교하여 참인 경우만 해당라인 코드를 실행한다.
Switch 문법
switch (비교할 변수)
        {
        	// 비교할 변수와 case 뒤의 변수가 같을 때 아래 코드를 실행
            // break;를 만나면 switch문 탈출
            // default는 다른 case들이 변수와 일치하지 않을 때 실행
            case valueA:
                메서드A();
                break;
            case valueB:
                메서드B();
            default:
                메서드C();
                break;
        }
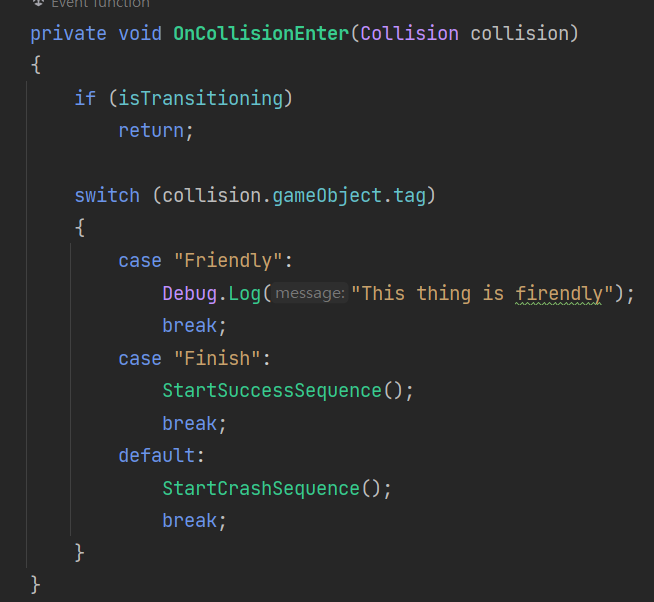
CollisionHandler.cs
using System.Collections;
using System.Collections.Generic;
using UnityEngine;

public class CollisionHandler : MonoBehaviour
{
    private void OnCollisionEnter(Collision collision)
    {
        switch (collision.gameObject.tag)
        {
            case "Friendly":
                Debug.Log("This thing is firendly");
                break;
            case "Finish":
                Debug.Log("Congrats, yo, you finished!");
                break;
            case "Fuel":
                Debug.Log("You picked up fuel");
                break;
            default:
                Debug.Log("Sorry, you blew up!");
                break;
        }
    }
}