배운 것들
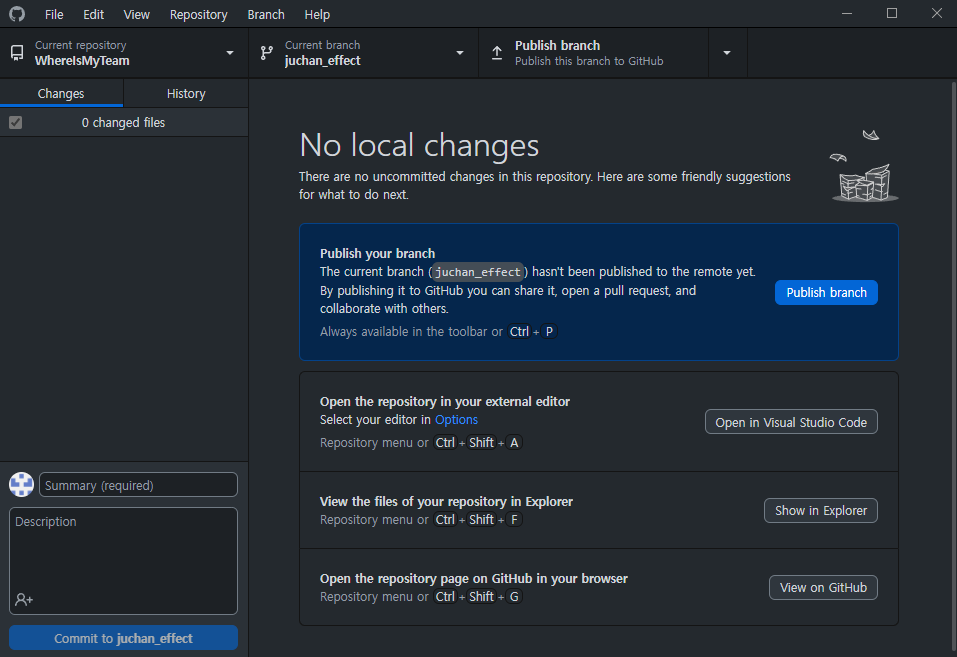
깃 허브 데스크탑
Git 작업을 GUI상에서 할 수 있는 깃 데스크탑 사용법을 배웠다.
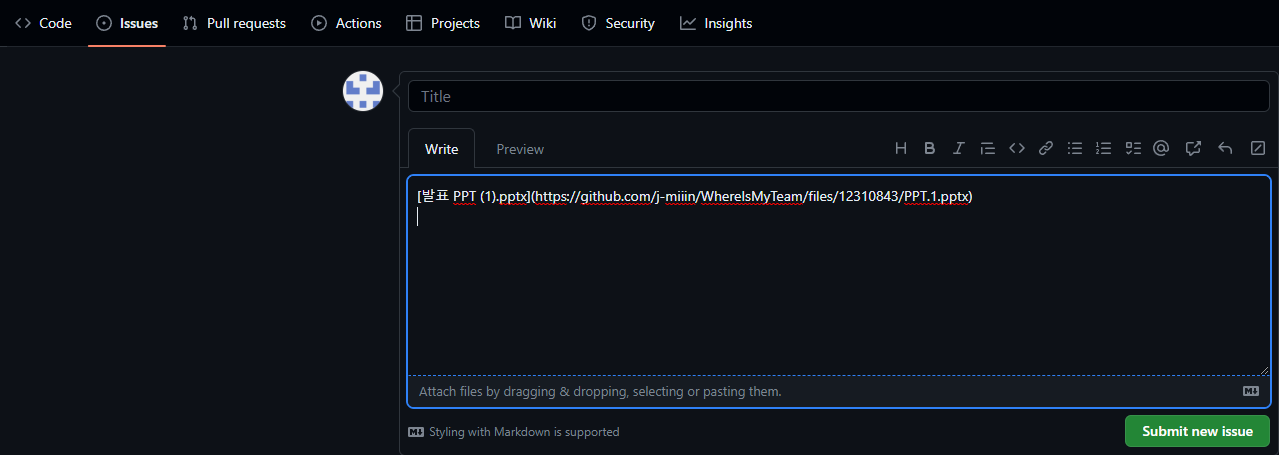
Readme 파일에 이미지 업로드하기
깃 허브의 Issues - New Issue의 Write창에 이미지를 드래그 드랍을 해서 url을 얻어온 뒤 readme 파일에 복사하면 된다.
#if를 통한 전처리
전처리를 통해 안드로이드와 데스크탑 분기를 나눌 수 있다.
void Update()
{
// 안드로이드
#if UNITY_ANDROID
        if (Input.touchCount > 0)
        {
            touch = Input.GetTouch(0);
            if (touch.phase == TouchPhase.Began)
            {
                TouchParticle particle = ObjectPooler.I.touchPool.GetObject();
                Vector3 touchPos = mainCam.ScreenToWorldPoint(touch.position);
                touchPos.z = 0;
                particle.transform.position = touchPos;
            }
        }
#endif
// 데스크탑
#if UNITY_STANDALONE
        if (Input.GetMouseButtonDown(0))
        {
            TouchParticle particle = ObjectPooler.I.touchPool.GetObject();
            Vector3 mousePos = mainCam.ScreenToWorldPoint(Input.mousePosition);
            mousePos.z = 0;
            particle.transform.position = mousePos;
        }
#endif

    }
참고 :
https://worthpreading.tistory.com/83
Github Readme에 이미지 올리기
약간의 트릭을 이용해 편리하게 Github Readme에 이미지를 삽입할 수 있다. 1. Github 프로젝트의 Issue 탭으로 들어간다. 2. New Issue 버튼을 눌러 이슈 추가 화면으로 들어간다. 3. 업로드하고자 하는 이
worthpreading.tistory.com
'스파르타 Unity 1기' 카테고리의 다른 글
| 내일배움캠프 6일차 TIL - C# 문법과 기능 구현 (0) | 2023.08.14 |
|---|---|
| 스파르타 Unity 8기 5일차 TIL (0) | 2023.08.11 |
| 스파르타 Unity 8기 3일차 TIL (0) | 2023.08.09 |
| 스파르타 Unity 8기 2일차 TIL (0) | 2023.08.08 |
| 스파르타 Unity 8기 1일차 TIL (1) | 2023.08.07 |